
Introduction — a shop-floor morning and a stubborn cycle time
I was at the bench when the supervisor sighed over another missed quota; the parts kept stacking and the clock kept ticking. On that bench sat a CNC turret lathe humming like a small engine, the spindle speed dialing down as if it too were tired. We were hitting 5% scrap on short runs, and the data — cycle time variance, tool change delay, and idle spindle minutes — didn’t lie. Why did a machine, designed for repeatability, feel so temperamental? (You know the sort of day.)
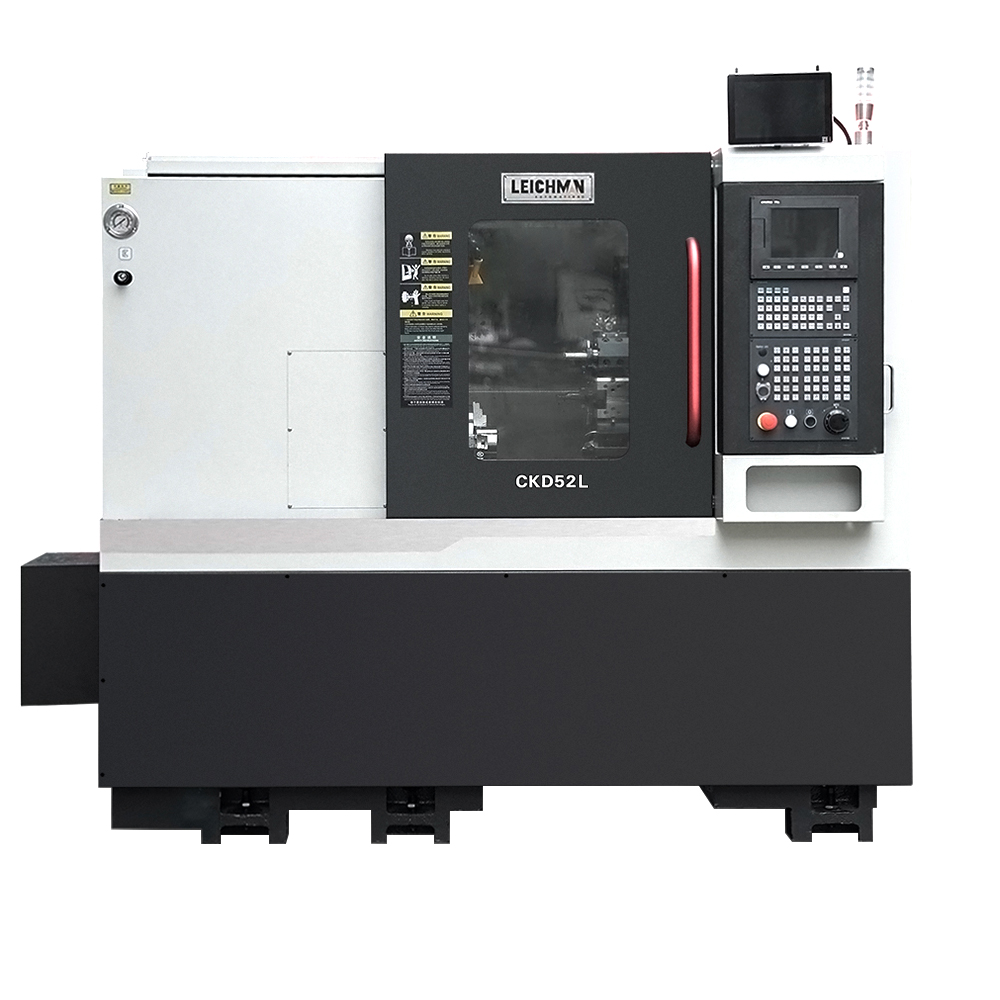
I’ll be honest: I felt a bit like a detective, following clues in the toolpath, watching the tool turret index, listening to the servo motor stutter. The numbers suggested lost minutes per part, but the real loss was confidence. My aim here is to share what I noticed and learned — a practical map, not a sales brochure. I’ll point out where the routine gremlins hide, then explore better choices for tooling and setup. Let’s move into what breaks down first, and why that matters to you on the shop floor.
Technical look: Why quick change tooling systems often fall short
At its best a quick change tooling system speeds swaps and trims cycle time; at its worst, poor indexing and slack in the toolholder introduce error. Technically speaking, repeatable clamping force, accurate tool offsets, and tight turret indexing are the three pillars. When any pillar falters — say, marginal clamping or worn taper — tolerances drift and rework appears. I’ve measured tool runout that added 0.02 mm of variation in turned diameters; small, but cumulative. Servo motor feedback, spindle bearings, and CNC control parameters all play a role. Look, it’s simpler than you think: tighten the mechanical basics first, then tune the control.
How do these flaws translate to daily pain?
First, downtime multiplies. A mis-seated toolholder causes chatter; chatter forces a stop, an inspection, a reset. Second, quality variance rises. Parts reject rates climb because the tool offset table no longer reflects reality. Third, hidden costs mount — extra machining passes, more inspection, and the human time spent diagnosing an avoidable issue. I prefer to start with a checklist: verify taper integrity, check turret locking torque, confirm toolholder repeatability, and audit the tool offset entries in the CNC control. That sequence finds most problems before they become late-shift headaches.
Forward-looking view: Where horizontal turret lathes and new practices take us
Looking ahead, I see better integration between sensors and mechanics changing the game. The horizontal turret lathe becomes more than a machine; it becomes a data node that reports health and advocates for itself. Predictive signals from vibration sensors and spindle current can flag a degrading toolholder before a batch goes bad. We’ll adopt smarter tool management — fewer surprise swaps, planned index maintenance, and tighter tool life windows. Short note — this isn’t magic; it’s disciplined measurement and small investments that pay off.
What I find encouraging is the practical payoff: reduced set-up time, fewer scrapped parts, and smoother shifts. — funny how that works, right? To choose the right upgrades, weigh three things: measurable repeatability in tool changes, the ease of integrating sensors into the existing CNC control, and the real-world return on reduced cycle time. I recommend trialing on a single spindle line and tracking spool-to-spool time and scrap rate before scaling. That way, you see actual gains, not just promises.
What’s next for shops wanting to improve throughput?
Start with a modest pilot: validate a quick change tooling strategy, install basic vibration monitoring, and tighten your toolholder maintenance routine. Measure spindle idle time, tool change duration, and first-pass yield. If those metrics move in the right direction, expand — but document each step. I’ve walked this path; careful, incremental changes beat big untested overhauls every time.
Closing advice — three metrics I use to evaluate a tooling upgrade
Weighing options? Here are three practical metrics I use when choosing solutions. First: Tool Change Repeatability — measure positional variance after 100 swaps. Second: Cycle Time Reduction — track average seconds saved per part over a representative run. Third: Maintenance Overhead — count interventions per 1,000 produced parts (staff time, spare holders, etc.). Use those figures to build a simple payback model; if the numbers show a clear return inside 12–18 months, it’s worth piloting. Trust me, having these metrics keeps the conversation honest and the upgrades useful.
For hands-on gear and support, I’ve worked with machines and tooling that balance practicality with durability — and for many shops, Leichman offers the kind of straightforward solutions that let you focus on producing good parts, not chasing problems. I’m happy to walk you through a checklist or help interpret your first pilot metrics. We’ll get the turret singing on schedule.