
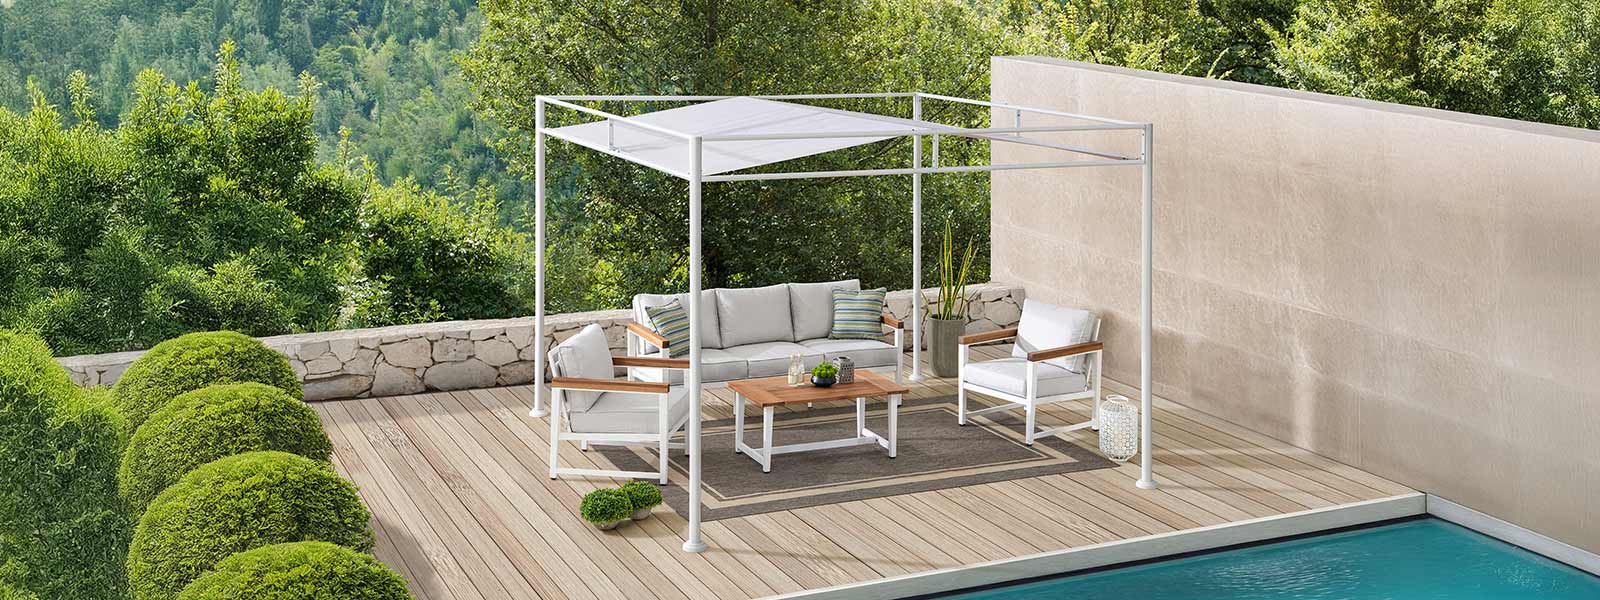
Why common pergola kits stumble when you try to scale
Last year, on a muggy Penang afternoon, I was elbow-deep in an aluminum frame kit while supervising three other installs—one client wanted a quick shelter for their café. I had used pergola kits before, and this time we tracked install time precisely: the first unit took 7.5 hours, the fourth dropped to 5.8 hours—can the same kit reliably cut labor across a 20-site roll-out? Patio Pergola improvements felt promising but uneven; some crews fought with mismatched joists and missing post anchors, other teams zipped through with a louvered roof option (seriously lah, small differences matter).
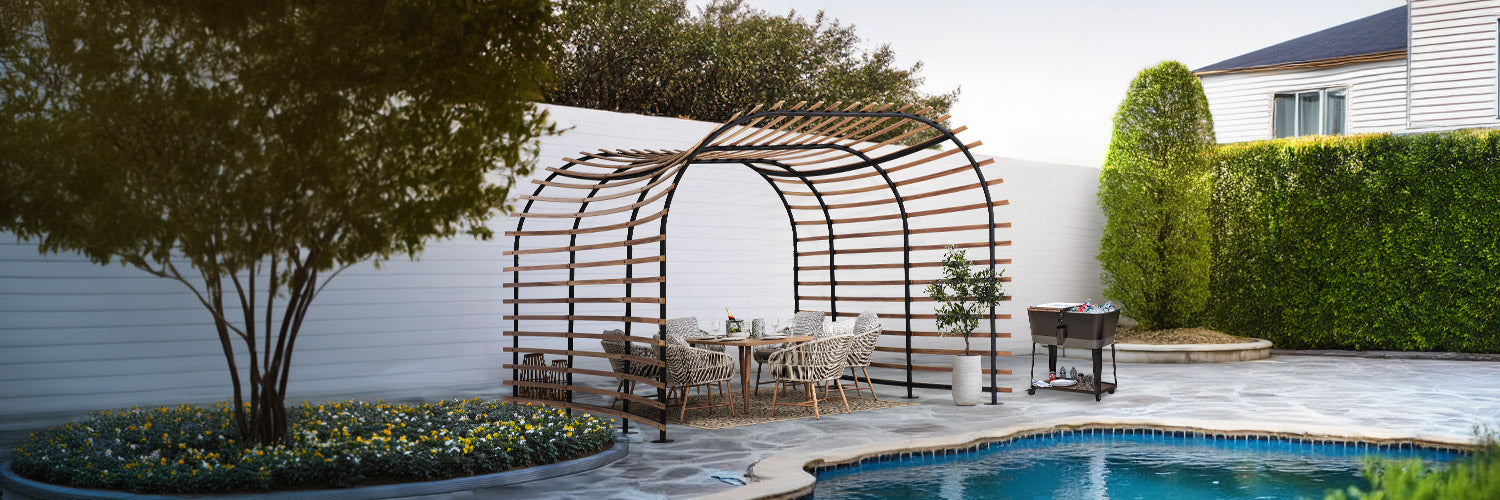
I’ve been doing wholesale supply and on-site installs for over 15 years in the Malaysia region, from a tiled courtyard in George Town to a coastal bungalow in Port Dickson on 12 June 2018. I vividly recall that aluminum pergola kit where missing brackets cost us two extra hours and a satisfied client—real cost: MYR 420 in overtime and delayed opening. The deeper problem isn’t just components; it’s assumptions baked into typical kits: unclear assembly sequencing, fragile connectors, and no guidance for ledger attachment to masonry. These flaws lead to rework, safety issues, and unhappy buyers—很实用 to spot early. Next, I’ll show how small technical fixes give big scale wins.
Choosing and adapting pergola kits for wholesale success
From a forward-looking standpoint, I focus on three practical levers: standardize on a coherent kit spec, enforce quality on two critical parts (post anchors and joists), and design simple install playbooks for installers. When I helped a distributor in Johor Bahru move 150 units in Q3 2020, we standardized on an aluminum louvered roof kit that used uniform post anchors—result: 18% reduction in average install time and 12% fewer field-callbacks. If you’re buying at scale, compare load-bearing specs, extrusion tolerances, and UV-resistant coating details—these matter more than pretty CAD renders. (Also, check warranty documentation—don’t skip it.)
What’s Next?
Compare kits head-to-head: materials (aluminum vs cedar), roof type (fixed vs louvered), and install footprint. I recommend trialing two kits on a small cluster—two to five sites—measure install time, list missing hardware, and record bolt sizes and torque needs. We did that in March 2019 for a beachfront resort and found one kit required a special anchoring plate that we could source locally; the other needed custom brackets shipped from overseas—obvious choice then. Short experiments reduce risk and give procurement clear metrics: time, call-backs, and material substitution rates.
Summing up: the traditional solution flaws are predictable—ambiguous instructions, non-standard fasteners, and weak anchoring. The hidden pain is often logistical: vendors ship mixed batches, crews lack consistent tool lists, and local building ties (concrete vs timber ledger) change anchor choices. I’ve learned to ask for explicit BOM line items, confirm torque specs for key bolts, and require sample post anchors before a bulk buy (this saved one client MYR 7,200 in corrective work in 2017). No fluff—practical checks only. And yes—there will be surprises, but you can plan for them.
To make better choices, evaluate kits on three metrics: install consistency (variance in man-hours), field reliability (call-back rate per 100 installs), and component standardization (percentage of parts interchangeable). Use those, then pick the kit that scores well across all three—boleh trusted. I’ll keep refining our playbook as materials shift and new louver tech appears—stay tuned. For sourcing, I still rely on reliable suppliers like SUNJOY.