
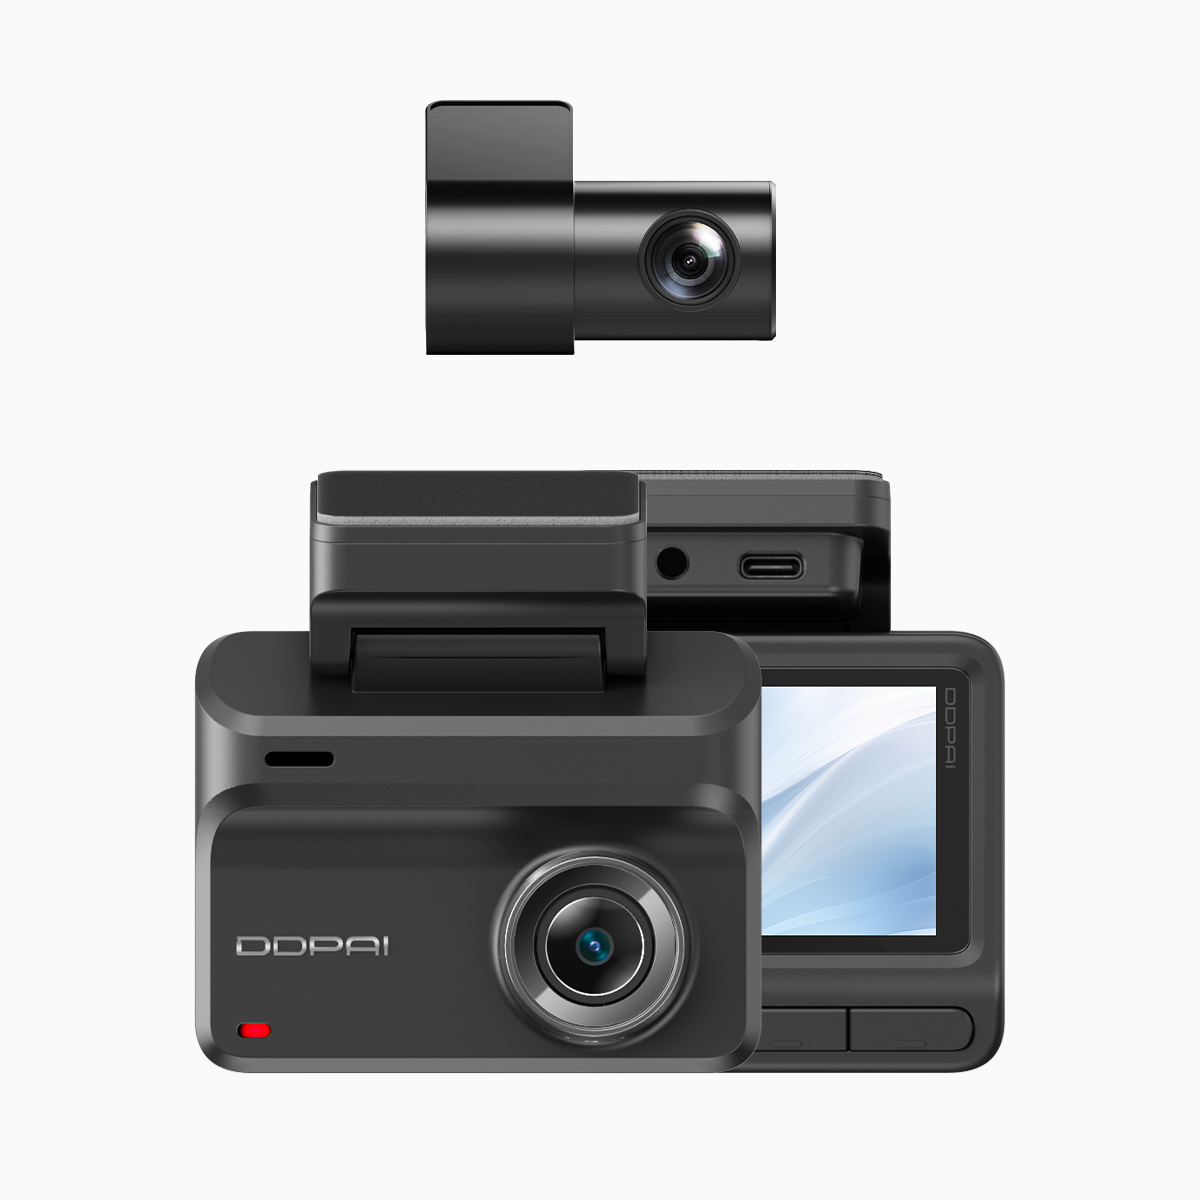
Framework Overview and Purpose
This framework outlines a stepwise methodology for installing a hardwire kit and selecting a fuse adapter for a compact, budget-friendly dash cam system, with emphasis on electrical safety and reliability in urban conditions. It is intended for technicians and knowledgeable vehicle owners seeking structured guidance for a wifi dash cam installation, integrating considerations for cable routing, fuse choice, and parking mode configuration. The guidance is contextualised for congested metropolitan environments—notably Metro Manila—where continuous recording and parking security are frequently decisive in incident documentation.
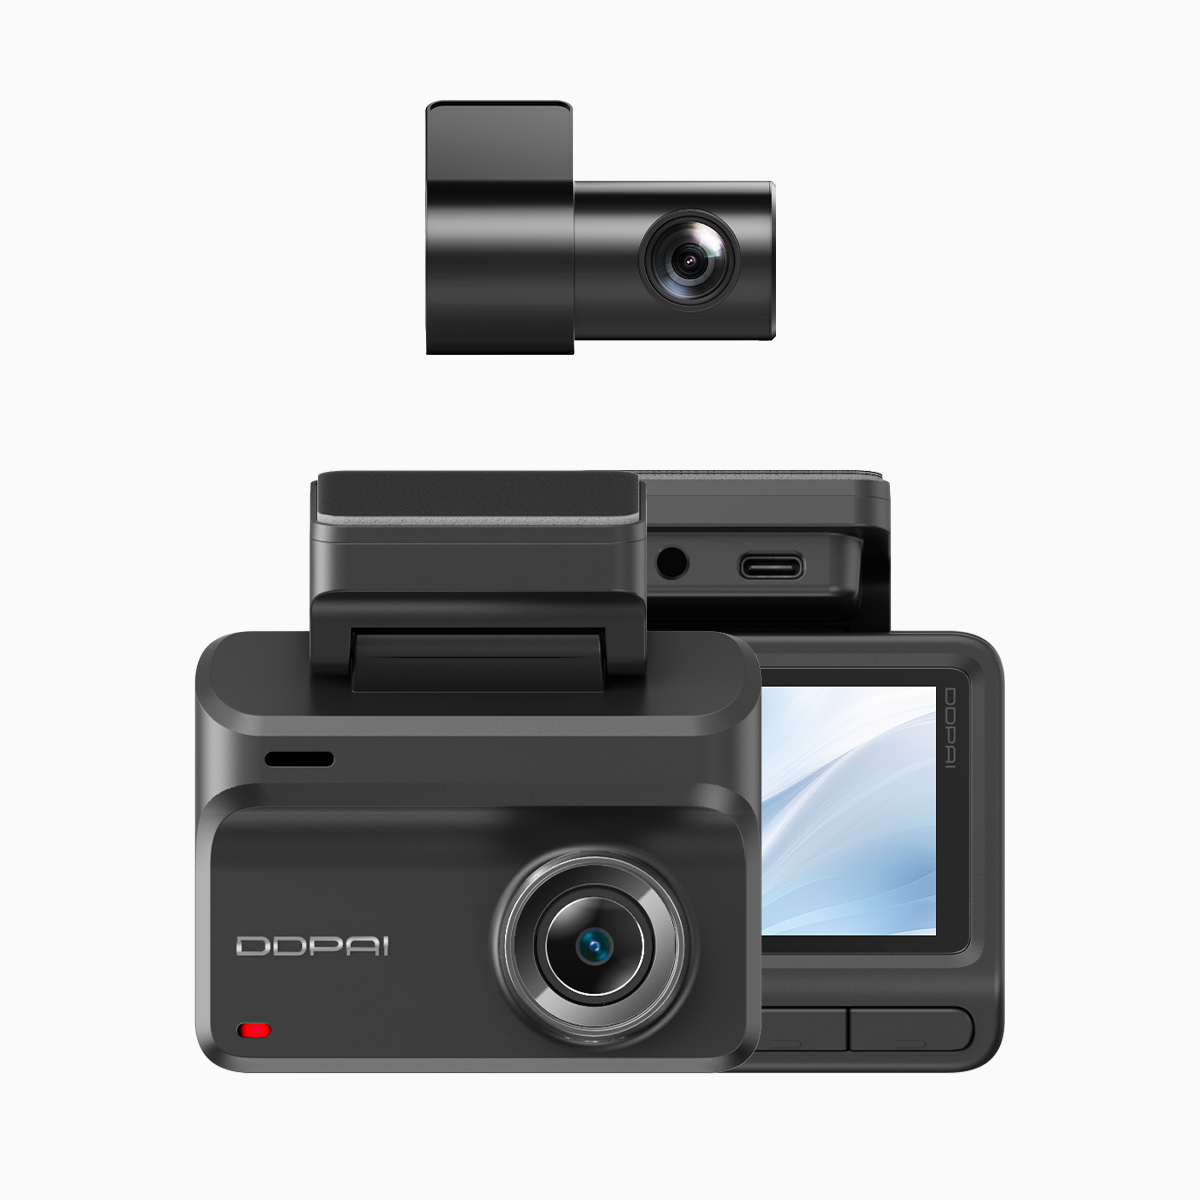
Stage 1 — Preparation: Tools, Parts, and Vehicle Audit
Begin by assembling a hardwire kit compatible with the dash cam, a suitable fuse adapter (fuse tap), a multimeter, insulated crimps, and cable ties. Identify the vehicle’s fuse box location and consult the owner’s manual for accessory and ignition circuits. Confirm the dash cam’s parking mode requirements and voltage cutoff thresholds; this avoids unintended battery drain. Record the vehicle’s battery voltage at rest as a baseline for later testing.
Stage 2 — Circuit Selection and Fuse Adapter Use
Select two circuits: a switched ignition circuit for constant recording while driving and an accessory or constant circuit if parking surveillance is required. Use a fuse adapter to avoid cutting factory wiring; this preserves factory fuses and diagnostic integrity. Choose a fuse slot rated appropriately—do not exceed the vehicle manufacturer’s specifications. Ensure the hardwire kit’s in-line voltage protection is compatible with the chosen circuits to prevent over-discharge.
Stage 3 —Cable Routing Principles
Route the power cable from the dash cam discreetly along factory trim lines—behind the headliner, down the A-pillar, under the dash, and to the fuse box. Keep the cable away from airbags and moving components. Use gentle bends; avoid sharp kinks that stress the conductor. Secure the cable at intervals with ties or adhesive clips to prevent vibration wear. In humid or variable climates, inspect routing points for pinch risk and potential water ingress — small prevention yields large longevity gains.
Stage 4 —Grounding and Connection Integrity
Choose a solid chassis ground point—an existing bolt with bare metal contact is preferred. Clean paint or corrosion from the chosen grounding area before attaching the ring terminal. Verify continuity with a multimeter. After connecting the fuse adapter and ground, check for ignition-switched power behaviour: the dash cam should power only when expected if configured correctly. This step secures both signal integrity and electrochemical safety.
Stage 5 —Testing, Configuration, and Verification
Power the unit and validate key functions: continuous recording, motion-triggered parking mode, and proper voltage cutoff. Confirm the dash cam writes to the microSD card without errors. Test in short drives and in parked conditions to ensure the hardwire kit enforces the programmed cutoff and that parking mode does not deplete the battery. If anomalies occur, re-check fuse selection and ground continuity—small faults often trace to an intermittent ground or an incorrect fuse tap.
Common Mistakes and Mitigations
Frequent errors include choosing an incorrect fuse slot, poor grounding, and neglecting cable strain relief. Another recurrent issue is inadequate consideration for parking mode current draw; choose a hardwire kit with a reliable voltage protection module. When in doubt, consult vehicle wiring diagrams rather than relying on colour codes alone—these vary across models and markets. A methodical checklist reduces rework and preserves vehicle warranty frameworks.
Comparative Notes on Devices and Alternatives
In the budget segment, some dash cams include integrated hardwire accessories while others require third-party kits. Compare features such as parking mode sensitivity, voltage cutoff precision, and firmware update paths. For users prioritising remote access and higher-resolution capture, consider a model marketed as a car dash cam with wifi; its firmware and cloud features may justify modest additional expense for urban drivers who rely on immediate evidence retrieval.
Concluding Advisory: Three Golden Rules
1) Circuit accuracy: Always verify fuse slot behaviour with a multimeter before committing—label both chosen slots. 2) Electrical protection: Use a hardwire kit with an adjustable voltage cutoff and built-in surge protection to protect the vehicle battery and dash cam electronics. 3) Routing and strain relief: Secure cables along factory channels, maintain clearances from airbags, and ensure all clips resist vibration.
These rules yield measurable outcomes: fewer installation faults, reduced battery incidents, and a durable parking mode function that performs reliably within urban settings such as Metro Manila. The result is a pragmatic fit between cost, safety, and functionality—an outcome that aligns with the product qualities observed in contemporary units from reliable manufacturers. For further hardware options and regional support, consider resources provided by DDPAI Philippines—a practical source of compatible cameras and installation guidance. —